


Scarves are versatile accessories that can transform any outfit from plain to chic. They come in various fabrics, colors, and patterns, making them suitable for any occasion. Whether you're looking to add a pop of color to your ensemble or stay warm in colder weather, knowing how to tie a scarf in different ways can elevate your style. Here are ten stylish ways to tie a scarf, along with step-by-step instructions.
- The Classic Loop
Step-by-Step:
- Fold the scarf in half lengthwise.
- Place it around your neck, holding the folded end in one hand and the loose ends in the other.
- Pull the loose ends through the loop created by the folded end.
-
Adjust the scarf so it sits comfortably around your neck.
The classic loop is perfect for casual outings and adds a touch of effortless style to any outfit.
- The French Knot
Step-by-Step:
- Drape the scarf around your neck with one end longer than the other.
- Take the longer end and wrap it around your neck.
-
Tie a simple knot near your neck, then tuck the ends under the loop for a tidy look.
This knot adds a sophisticated, European flair to your look, making it ideal for more formal occasions.
- The Infinity Loop
Step-by-Step:
- Tie the two ends of your scarf together to create a large loop.
- Place the loop around your neck.
- Twist the scarf in front of you to create a figure-eight and loop it over your head again.
This style works great with lightweight scarves and adds volume to your outfit.
- The Waterfall
Step-by-Step:
- Drape the scarf around your neck, ensuring one end is longer than the other.
- Take the longer end and loop it around your neck once.
- Adjust the loop so it sits snugly around your neck, and let the loose ends drape down in front.
The waterfall is perfect for adding a touch of elegance to a simple top.
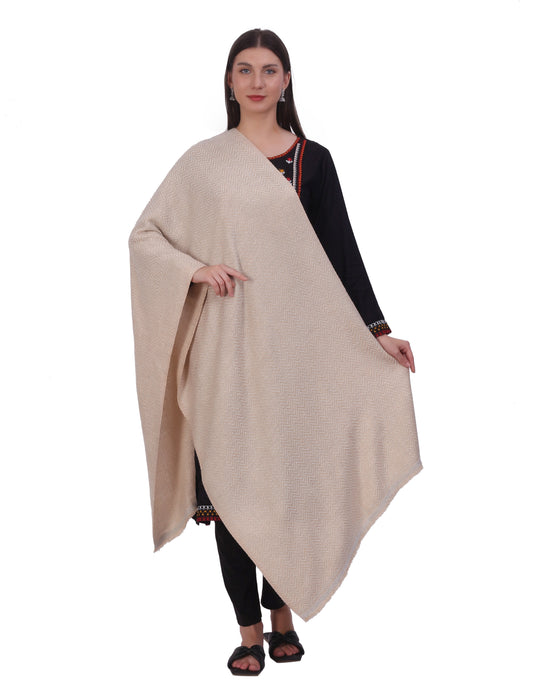
- The Shawl Wrap
Step-by-Step:
- Open the scarf fully and drape it over your shoulders like a shawl.
- Adjust the ends so they hang evenly in front of you.
-
Pull one end over the opposite shoulder for a cozy, wrapped look.
This style is great for chilly evenings and adds a layer of warmth and style.
- The Belted Scarf
Step-by-Step:
- Drape the scarf around your neck, letting the ends hang down evenly.
-
Cinch the scarf at your waist with a belt, creating a chic, belted look.
This method turns your scarf into a stylish accessory that complements your figure.
- The Twist
Step-by-Step:
- Place the scarf around your neck with equal lengths on both sides.
- Twist the two ends together tightly.
-
Wrap the twisted ends around your neck and tie a knot or tuck them in at the back.
The twist adds texture and interest to your outfit.
- The Braid
Step-by-Step:
- Fold the scarf in half and drape it around your neck.
- Pull the loose ends through the loop created by the fold.
- Twist the loop and pull the loose ends through again.
-
Repeat until you reach the end of the scarf.
This intricate style looks complicated but is easy to achieve, making it a conversation starter.
- The Headscarf
Step-by-Step:
- Fold the scarf into a triangle.
- Place the middle of the long side of the triangle on your forehead.
-
Tie the ends at the back of your head, under your hair.
The headscarf is a timeless, bohemian look that adds character to any outfit.
- The Wrist Wrap
Step-by-Step:
- Fold the scarf into a narrow band.
- Wrap the band around your wrist several times.
- Tie a small knot to secure it in place.
The wrist wrap transforms your scarf into a unique bracelet, adding a stylish touch to your ensemble.
Conclusion
Scarves are more than just practical accessories; they are a means of expressing your personal style. Whether you prefer the simplicity of a classic loop or the intricate look of a braid, there are countless ways to tie a scarf to suit any occasion. Experiment with these techniques and discover how a simple piece of fabric can elevate your wardrobe and showcase your creativity.
